
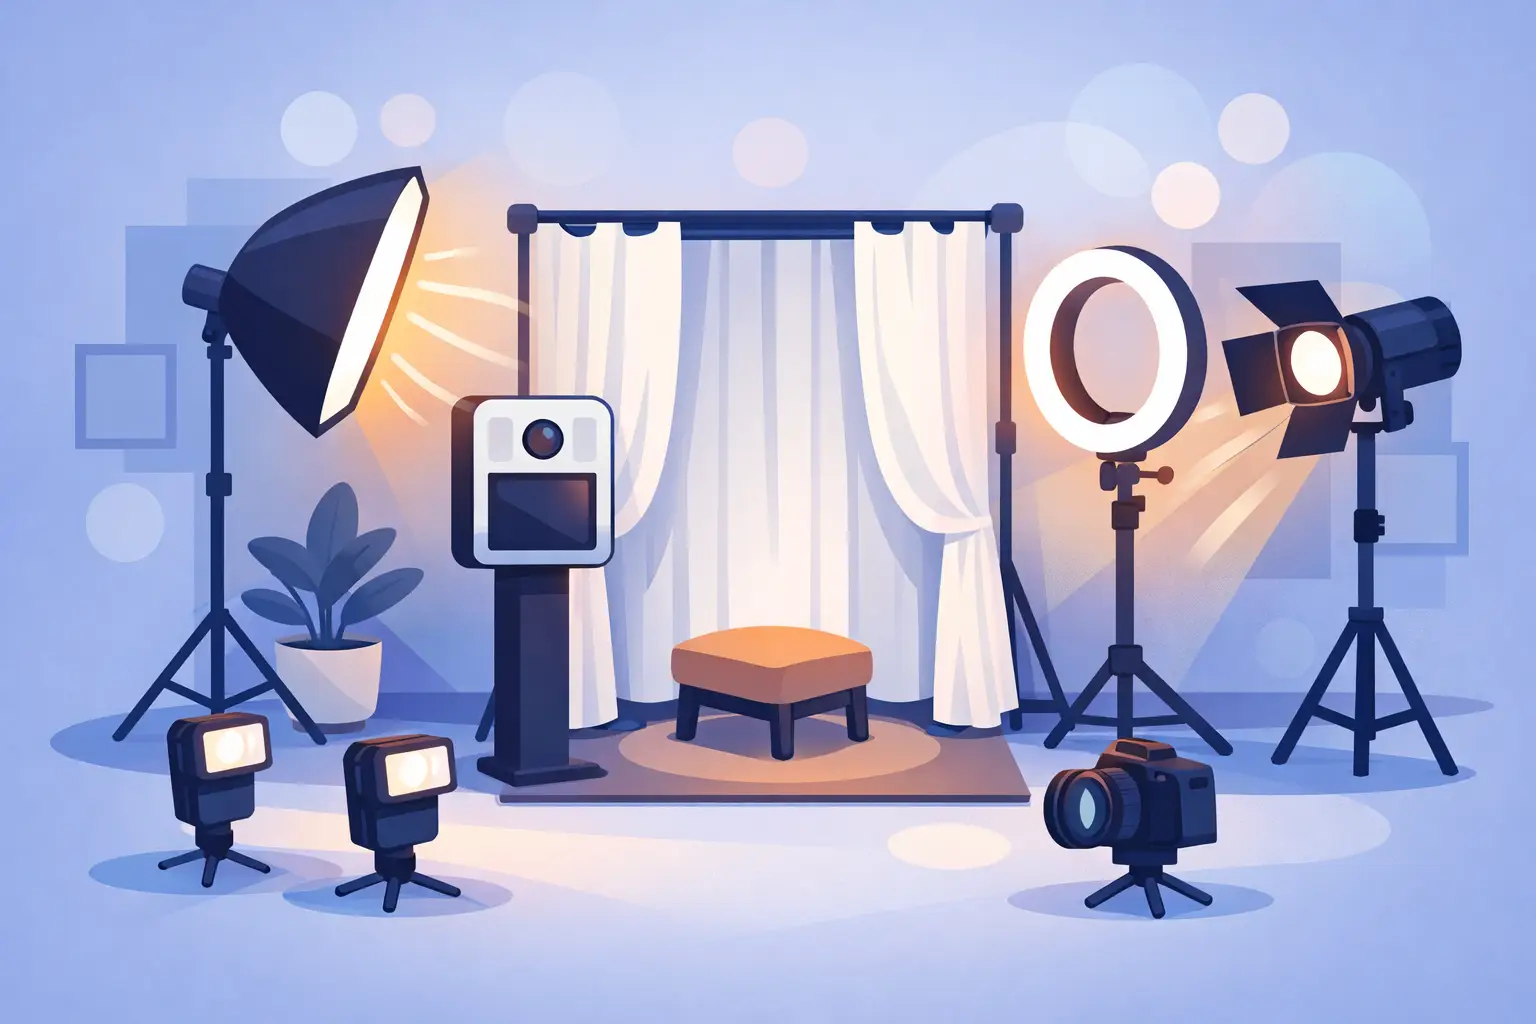
Bad lighting is the fastest way to make a beautiful event look flat on camera. You can have a stunning backdrop, a packed dance floor, and guests dressed to the nines, but if the booth lighting is harsh, dim, or inconsistent, the final photos will never feel as polished as the moment itself. If you’re wondering how to light an indoor photo booth, the goal is simple: make every guest look great, every frame feel consistent, and every photo booth session run smoothly from first snap to last print.
For weddings, galas, and upscale parties, indoor booth lighting has to do more than just brighten a space. It needs to flatter skin tones, handle different heights and group sizes, and stay dependable even when the venue lighting shifts from bright dinner service to moody reception vibes. Great booth lighting should feel almost invisible to guests while doing a lot of heavy lifting behind the scenes.
What good indoor photo booth lighting actually does
The best indoor photo booth lighting creates a clean, even look without washing people out or leaving shadows under the eyes. That sounds straightforward, but event spaces rarely make it easy. Ballrooms can have dark ceilings, uplighting in bold colours, mirrored walls, and mixed bulbs that all change how the camera sees a scene.
A well-lit booth solves for that by creating its own controlled mini studio. Instead of depending on whatever lighting the venue happens to offer, the booth setup should bring enough consistent light to keep faces sharp, backgrounds balanced, and prints looking crisp. This matters even more if instant sharing and prints are part of the experience, because guests notice right away when images feel bright, flattering, and finished.
There’s also a guest-experience side to lighting. If people step into the booth and immediately look good, they relax. They pose more confidently, stay longer, and usually come back for another round with a bigger group. That energy is part of what makes a premium booth feel memorable rather than just functional.
How to light an indoor photo booth for flattering results
Start with soft, front-facing light. This is the foundation of almost every photo booth setup that consistently delivers polished images. Soft light smooths skin, reduces harsh shadows, and helps everyone from the flower girl to the grandparents look their best.
In most indoor booth setups, a ring light or a soft LED panel placed near the camera works well because it lights the face evenly from the front. Ring lights are popular because they’re compact, flattering, and easy to position. Soft panels can look even more natural, especially when you want a less obvious catchlight in the eyes. Neither is automatically better in every case. It depends on the booth style, the space, and the look you want.
If your booth is designed for close-up portraits and small groups, a ring light can be enough. If you’re expecting larger groups or want a more editorial feel, broader soft lighting often gives better coverage. The key is avoiding tiny, direct light sources that create shiny skin, hard cheek shadows, and a flash-heavy look.
Keep the light slightly above eye level
Position matters almost as much as the light itself. Place your main light just above eye level and angle it down slightly. This tends to be the most flattering spot because it mimics natural overhead light in a gentle way, without creating deep shadows.
If the light is too low, faces can look oddly lit and less refined. If it’s too high, you may end up with dark eye sockets, especially on taller guests. Indoor booths see a lot of variety in height, so aim for a setup that works for standing adults first, then test it with couples and small groups.
Light the people first, then the backdrop
One of the most common mistakes in indoor booths is trying to make the backdrop glow while the guests stay underlit. The photo should always prioritise the people. A sparkling sequinned wall or custom floral installation can look incredible, but if the faces are dark and the backdrop is perfectly exposed, the image feels off.
That doesn’t mean the backdrop should disappear. It just means it should support the subject, not compete with it. If you want more separation, add gentle background lighting rather than cranking up the main light and hoping it reaches everything evenly.
Why venue lighting is rarely enough
A lot of hosts assume that if the reception space looks beautiful in person, it will also photograph beautifully inside the booth. Unfortunately, ambient venue lighting is usually designed for atmosphere, not for consistent portraits.
Candles, chandeliers, coloured uplighting, dimmed pot lights, and DJ effects all create mood. They do not create reliable booth lighting. In fact, they often create mixed colour temperatures that make skin tones look too orange, too blue, or slightly green on camera.
This is why a self-contained booth lighting setup matters. It gives you control. Even in elegant indoor venues across Niagara and the GTA, lighting conditions can change dramatically over the course of one event. Your booth should still deliver the same high-impact look at cocktail hour and at 11 p.m. when the room is darker and the party is in full swing.
How to handle group shots inside the booth
Lighting one person is easy. Lighting six people with different heights, outfits, and positions is where things get more technical.
For group shots, widen and soften the light as much as possible. A narrow light source might flatter one person standing dead centre, but the guests on the edges will fall into shadow. This is where larger LED panels or a broader diffusion setup can make a real difference.
Distance also matters. If the light is too close, the people nearest the camera may look much brighter than everyone else. Pulling the light back slightly can create more even coverage across the group. You may need to increase brightness to compensate, but the payoff is a more balanced image.
The backdrop should also be far enough behind the group to avoid harsh shadows. If guests are pressed right up against the background, you’ll often see distracting shadow outlines. Giving even a little extra space between people and backdrop helps the image feel cleaner and more polished.
Colour temperature can make or break the look
If you want booth photos to feel modern and consistent, keep your lighting colour temperature stable. Daylight-balanced LEDs are usually the safest choice for indoor booths because they produce a clean, neutral look that works well for both prints and digital sharing.
Problems start when booth lights clash with the room. Warm tungsten bulbs in the venue and cool LEDs at the booth can create mixed tones in the same frame. The camera can correct some of this, but not always perfectly, especially when guests are moving quickly through the experience.
The easiest fix is to make the booth lighting strong enough to dominate the scene. That way, your camera is reading the booth light as the main source and the venue ambience becomes secondary. This gives you more consistent skin tones and fewer surprises from shot to shot.
How to light an indoor photo booth without making it feel clinical
There’s a balance to strike here. You want enough light for sharp, flattering images, but not so much that the booth feels like a staring contest with a spotlight. Guests should feel excited and comfortable, not interrogated.
Softness helps. So does thoughtful placement. Lighting that wraps gently across the face tends to feel more premium than lighting that blasts straight on with no diffusion. The booth can still feel energetic and glamorous without becoming harsh.
This is especially important at weddings, where the overall mood matters. A premium booth should complement the event aesthetic, not interrupt it. Clean lighting, a beautiful backdrop, and a camera setup that feels intuitive all work together to create that polished, effortless experience couples are after.
Don’t forget the camera settings behind the scenes
Even the best lighting setup needs camera settings that support it. Exposure, white balance, shutter speed, and ISO all affect the final result. If those settings are constantly changing, your booth photos can end up inconsistent even with strong lighting.
For indoor booths, consistency usually beats creativity. You’re not trying to reinvent the look for every guest. You’re creating a repeatable setup that delivers crisp, flattering images all event long. That’s one reason a photography-first approach matters so much in booth design. The lighting and camera need to work as one system, not as separate pieces of equipment.
At Pic Booth, that’s the difference we care about most. Premium booth experiences should feel fun in the moment and look exceptional after the fact.
The smartest setup is the one built for the room
There’s no single perfect formula for every venue. A hotel ballroom, an industrial event space, and a private indoor celebration all have different lighting challenges. Ceiling height, wall colour, available floor space, and backdrop choice all affect how the booth should be lit.
That’s why the smartest approach is always tailored. Test the booth footprint. Consider the guest flow. Look at how the light falls on both a solo guest and a larger group. Then adjust before the event starts, not after the first round of prints comes out darker than expected.
When indoor photo booth lighting is done right, people rarely talk about the lighting itself. They talk about how amazing the photos looked, how good they felt stepping into the booth, and how the whole experience added something special to the night. That’s the real standard to aim for – lighting that disappears into the magic while making every memory look extraordinary.